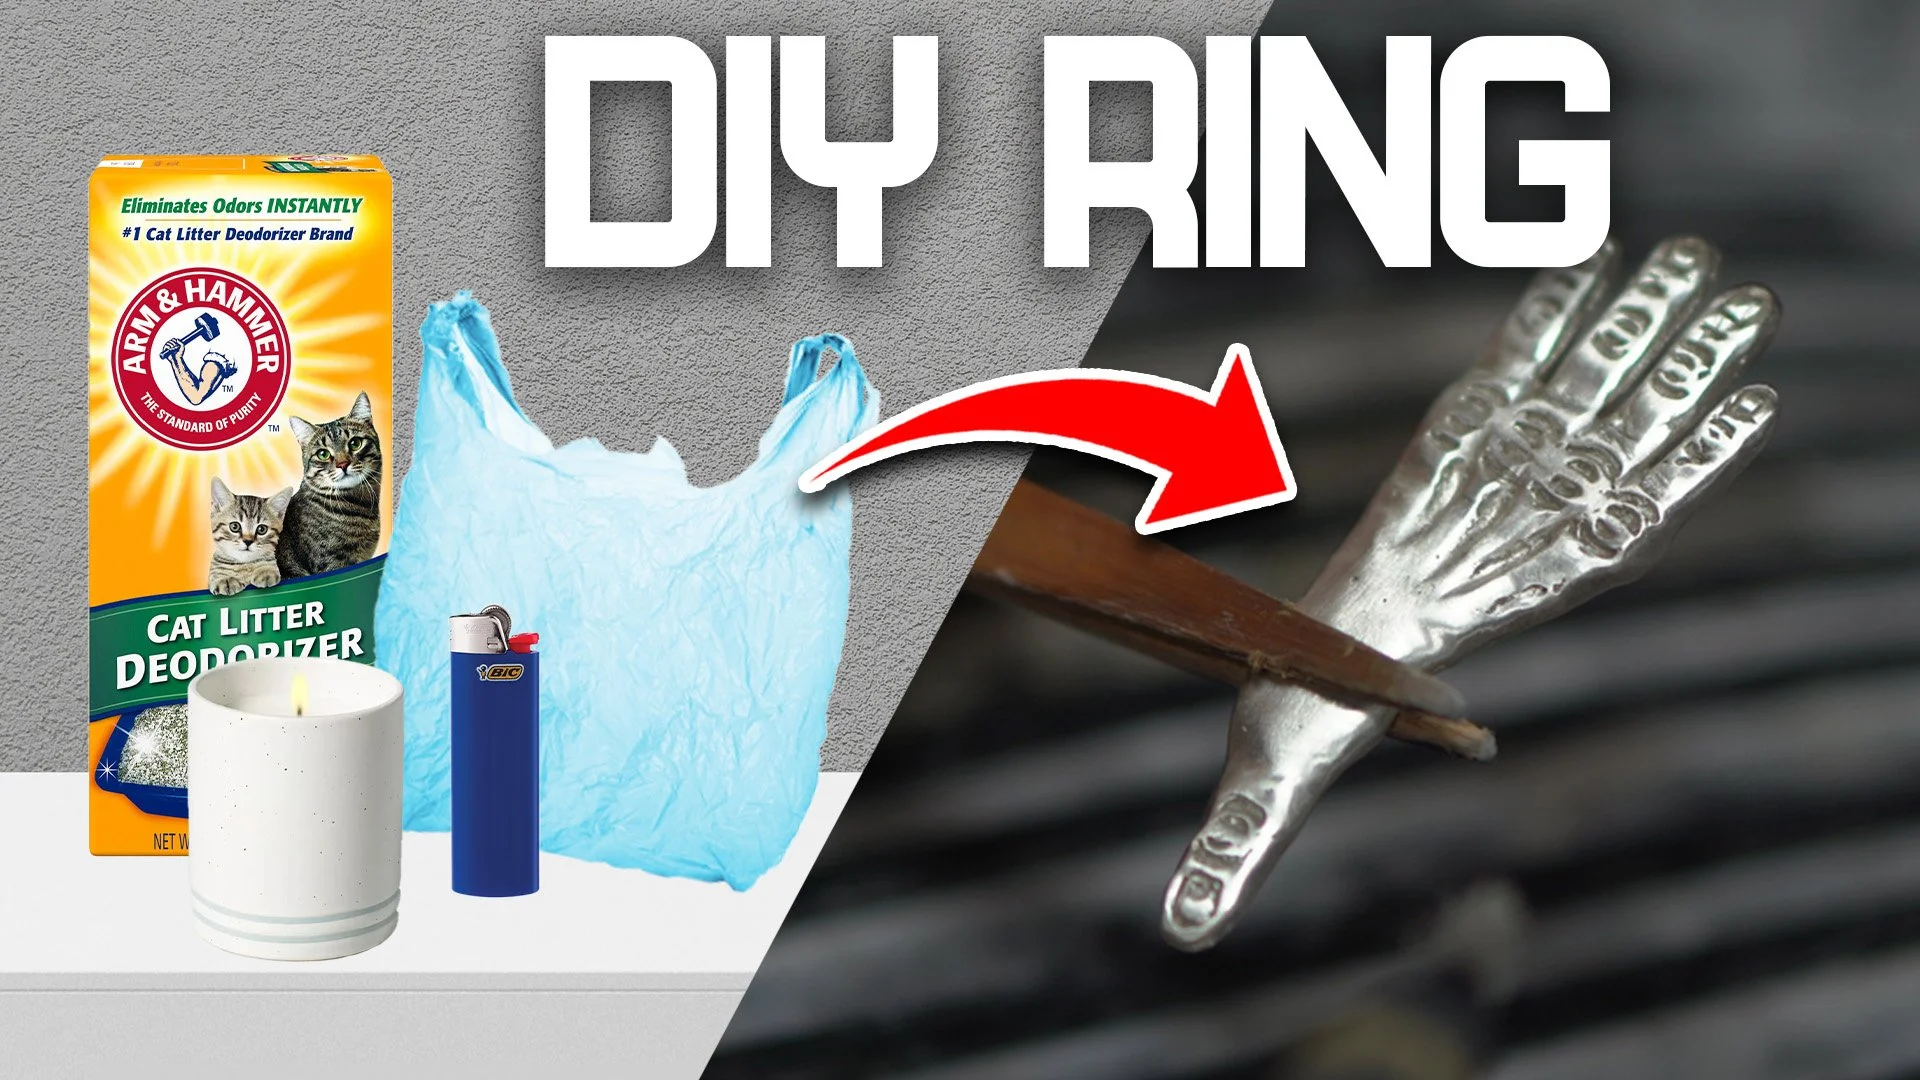
How to Make a Sterling Silver Ring Using Lost Wax Casting
Here.. is the YouTube video of me making one:)
Have you ever wanted to make your own sterling silver ring? With lost wax casting, it's easier than you might think! In this blog post, we'll walk you through the basics of lost wax casting and show you how to create a beautiful sterling silver ring using this technique.
What is Lost Wax Casting?
Lost wax casting is a process that has been used for centuries to create metal objects. The process begins with a model or "pattern" of the object to be cast. This pattern is then used to create a mold, which is filled with molten metal. Once the metal has cooled and hardened, the mold is broken open and the finished object is revealed.
Why Use Lost Wax Casting?
Lost wax casting offers a few advantages over other methods of creating metal objects. First, it allows for very intricate details to be captured in the final object. Second, lost wax casting is relatively inexpensive, making it a great option for people who want to create metal objects on a budget. Finally, lost wax casting is relatively easy to learn, so even if you're a beginner, you can produce high-quality results.
How to Make a Sterling Silver Ring Using Lost Wax Casting
Now that we've covered the basics of lost wax casting, let's walk through the steps you'll need to take to make your own sterling silver ring using this technique.
What You'll Need
To get started, you'll need the following supplies:
-Sterling silver sheet metal
-Wax carving tools
-A small torch
-A crucible
-A mold
-Casting powder
-A pickle pot
Step 1: Carve Your Ring Design into a Block of Wax
The first step is to carve your ring design into a block of wax. This step requires a bit of creativity, so take your time and be as detailed as you'd like. Once you're happy with your design, use a sharp knife to cut out your ring shape.
Step 2: Attach Your Ring to a Base Plate
Next, you'll need to attach your ring to a base plate. This will ensure that your ring doesn't move when it's being cast. To do this, simply place your ring on the plate and use a small amount of wax to secure it in place.
Step 3: Heat Your Metal Until It's Melted
Now it's time to heat up your metal until it's melted. For this step, you'll need to use a small torch. Heat up the metal until it reaches a temperature of about 2,100 degrees Fahrenheit. Then, carefully pour the molten metal into your crucible.
Step 4: Pour the Molten Metal Into Your Mold
Once the metal has cooled slightly, it's time to pour it into your mold. Make sure that your mold is properly secured before pouring in the metal—you don't want it to move and cause any accidents. Fill the mold completely and then allow the metal to cool completely.
Step 5: Remove Your Ring From the Mold
After the metal has cooled and hardened, it's time to remove your ring from the mold. Carefully break away the mold material until your ring is revealed. If there are any rough edges, simply use a file or sandpaper to smooth them out.
Step 6: Polish Your Ring
The final step is to polish your ring until it shines. For this step, you can use either a polishing machine or do it by hand using a polishing cloth. Once you're happy with the results, congratulations—you've just made your very own sterling silver ring!
Making your own sterling silver ring is a fun and rewarding project that anyone can do with just a few supplies and some basic knowledge of lost wax casting. In this blog post, we've given you an overview of what lost wax casting is and how it works, as well as walked you through the steps necessary to create your own sterling silver ring using this technique. So what are you waiting for? Give it a try today!

